Since the release of macOS Mojave, applications have required authorisation to access your personal data and locations including the ~/Documents and ~/Downloads directories.
Authorisation requests are routinely handled by macOS when an application requiring access is first launched. Occasionally, an application may need to be authorised by manually granting it access.
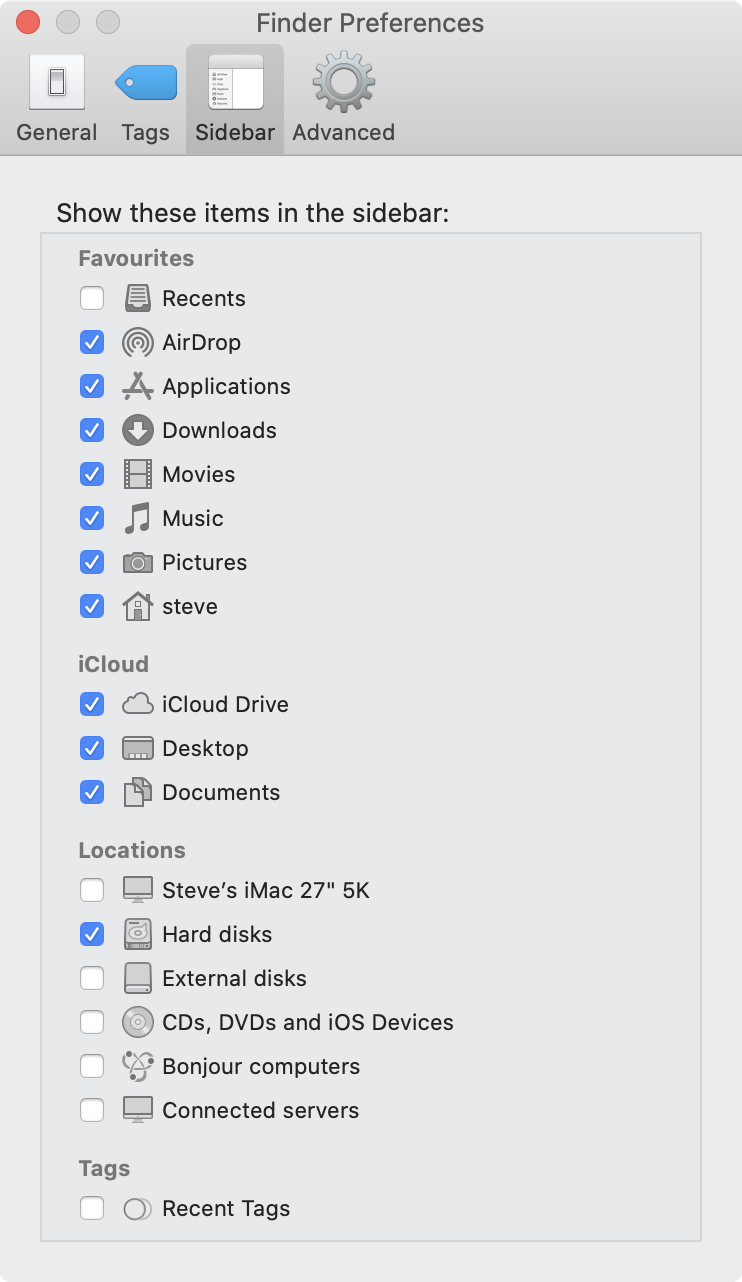
Before looking at how an application can be manually authorised, we need to configure Finder windows to display hard disks in the sidebar. Select Finder > Preferences > Sidebar and ensure that under Locations the Hard disk option is checked:
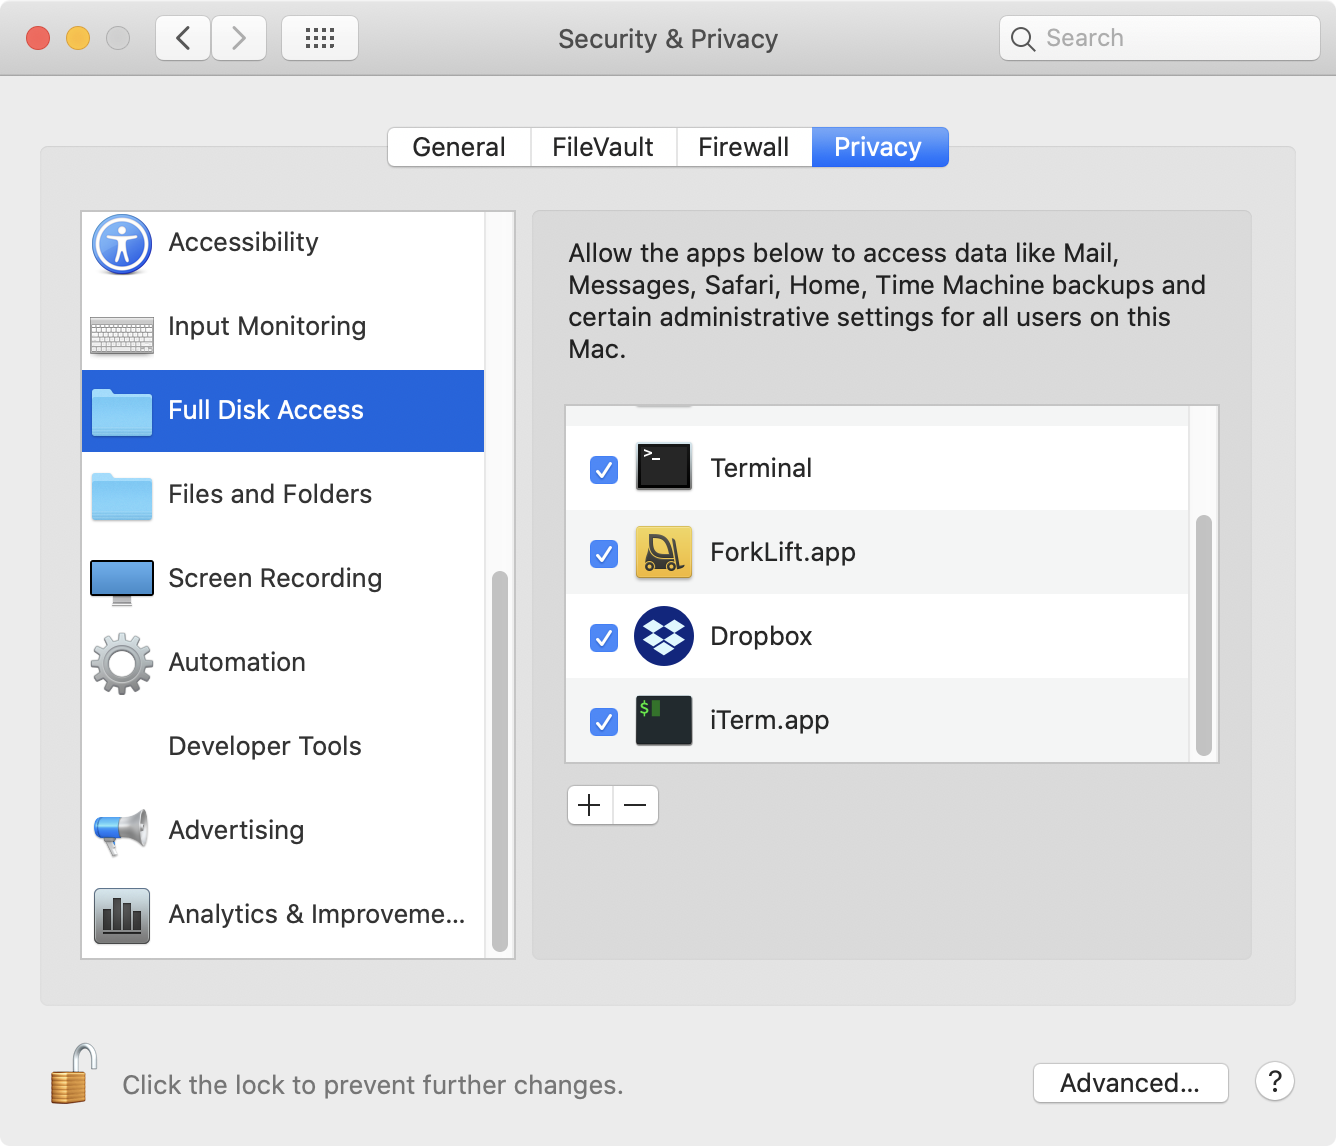
To manually authorise an application it needs to be given full disk access. Select System Preferences > Security & Privacy > Privacy > Full Disk Access and click the + button:
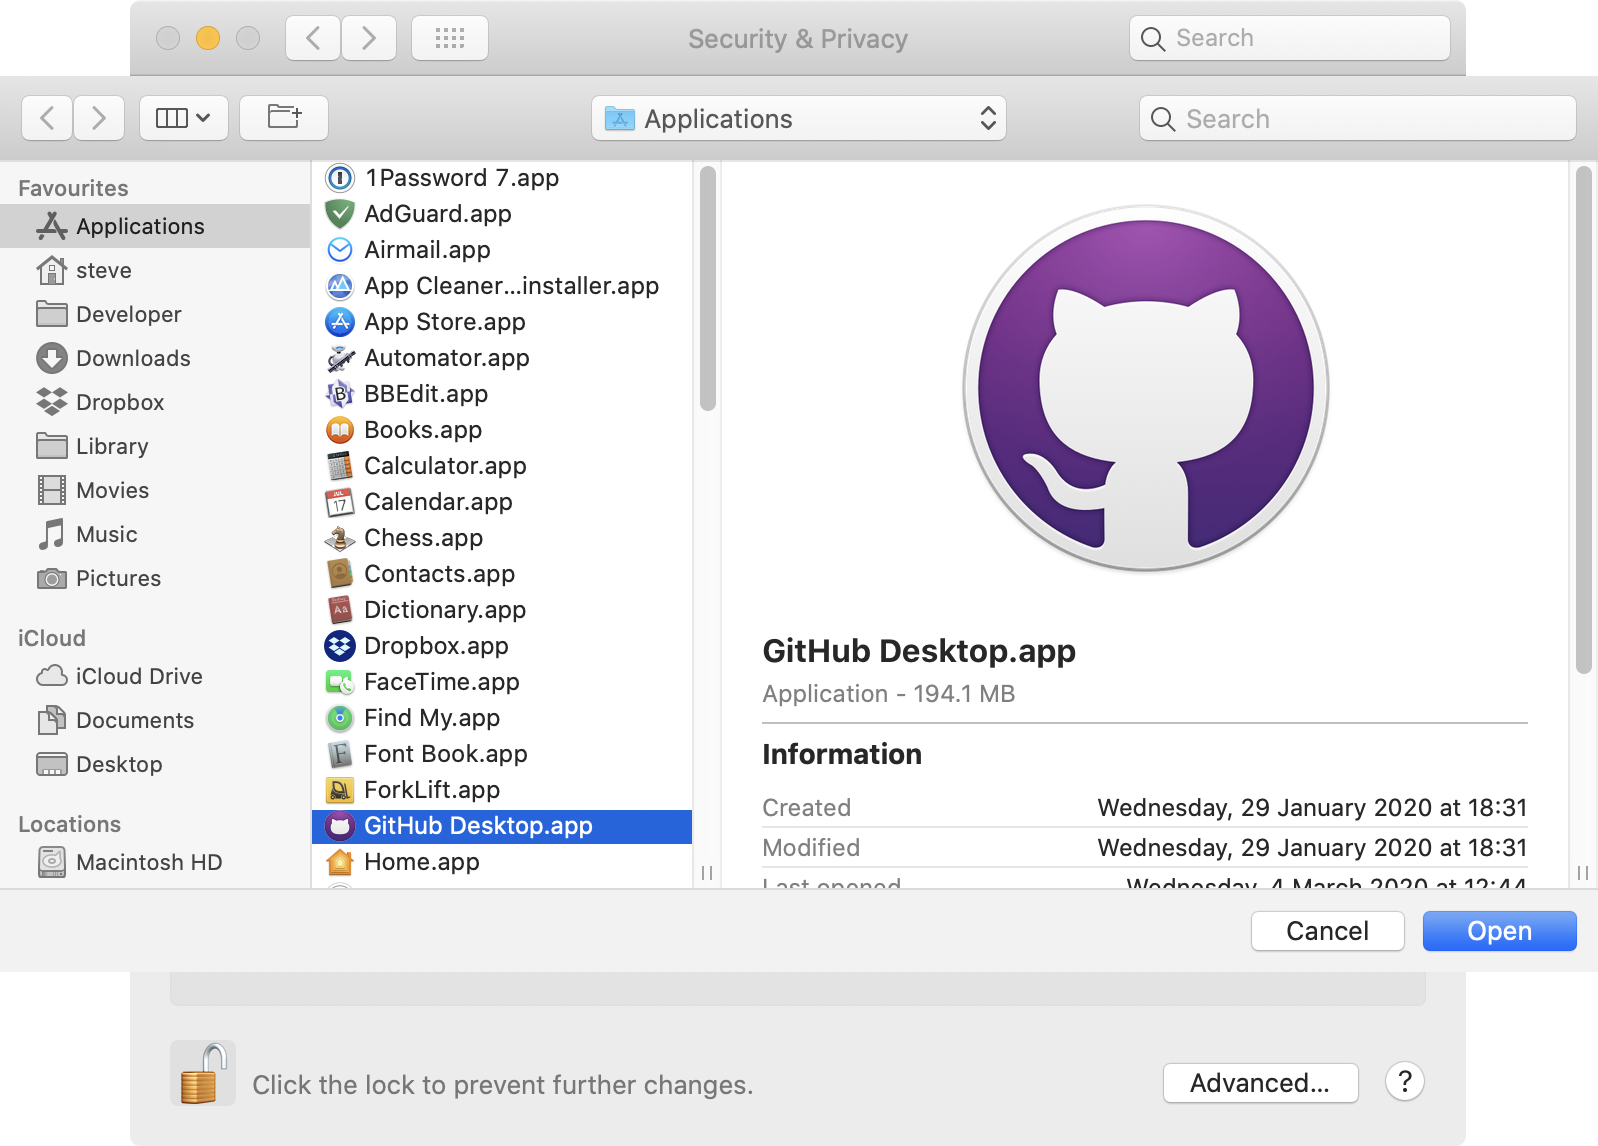
To give, say, the GitHub Desktop application full disk access, navigate to the /Applications directory, select GitHub Desktop.app and click Open:
With macOS Catalina, full disk access may need to be given to a program not located in the /Applications directory. An example is the bash interpreter that currently ships with macOS and whose binary is in the /bin directory.
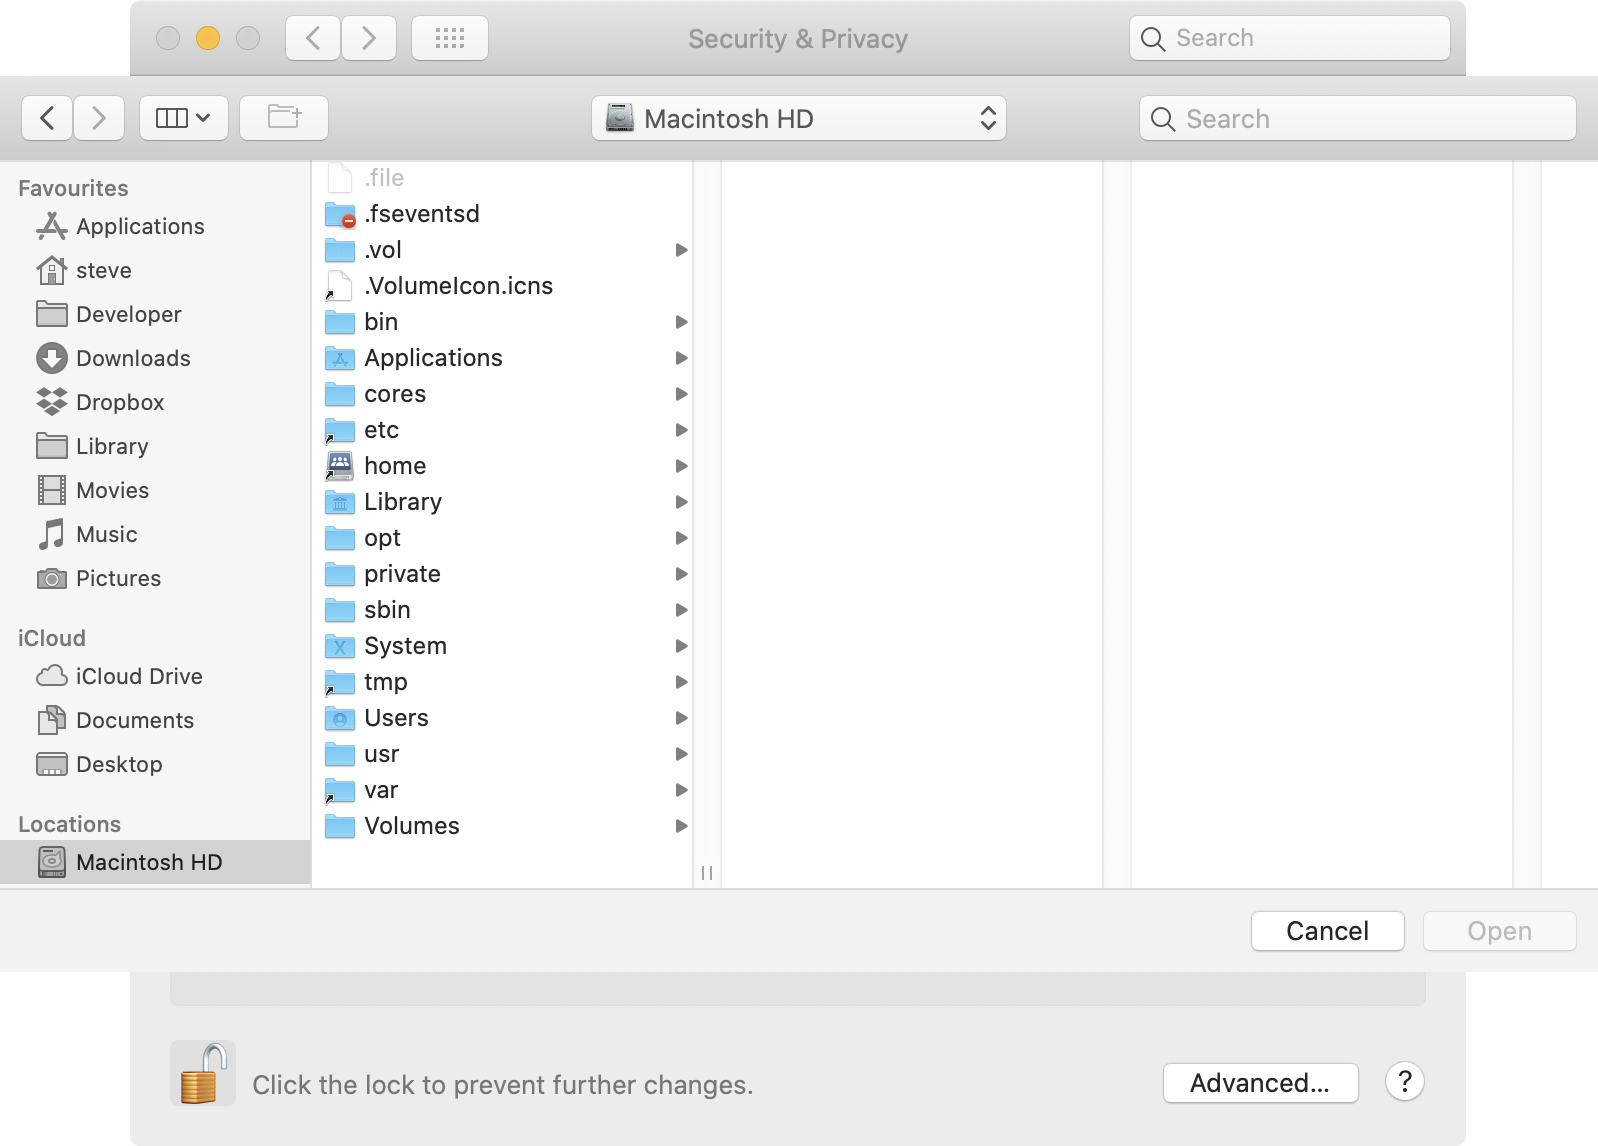
To grant /bin/bash full disk access, first click Macintosh HD in the sidebar of the Open dialog:
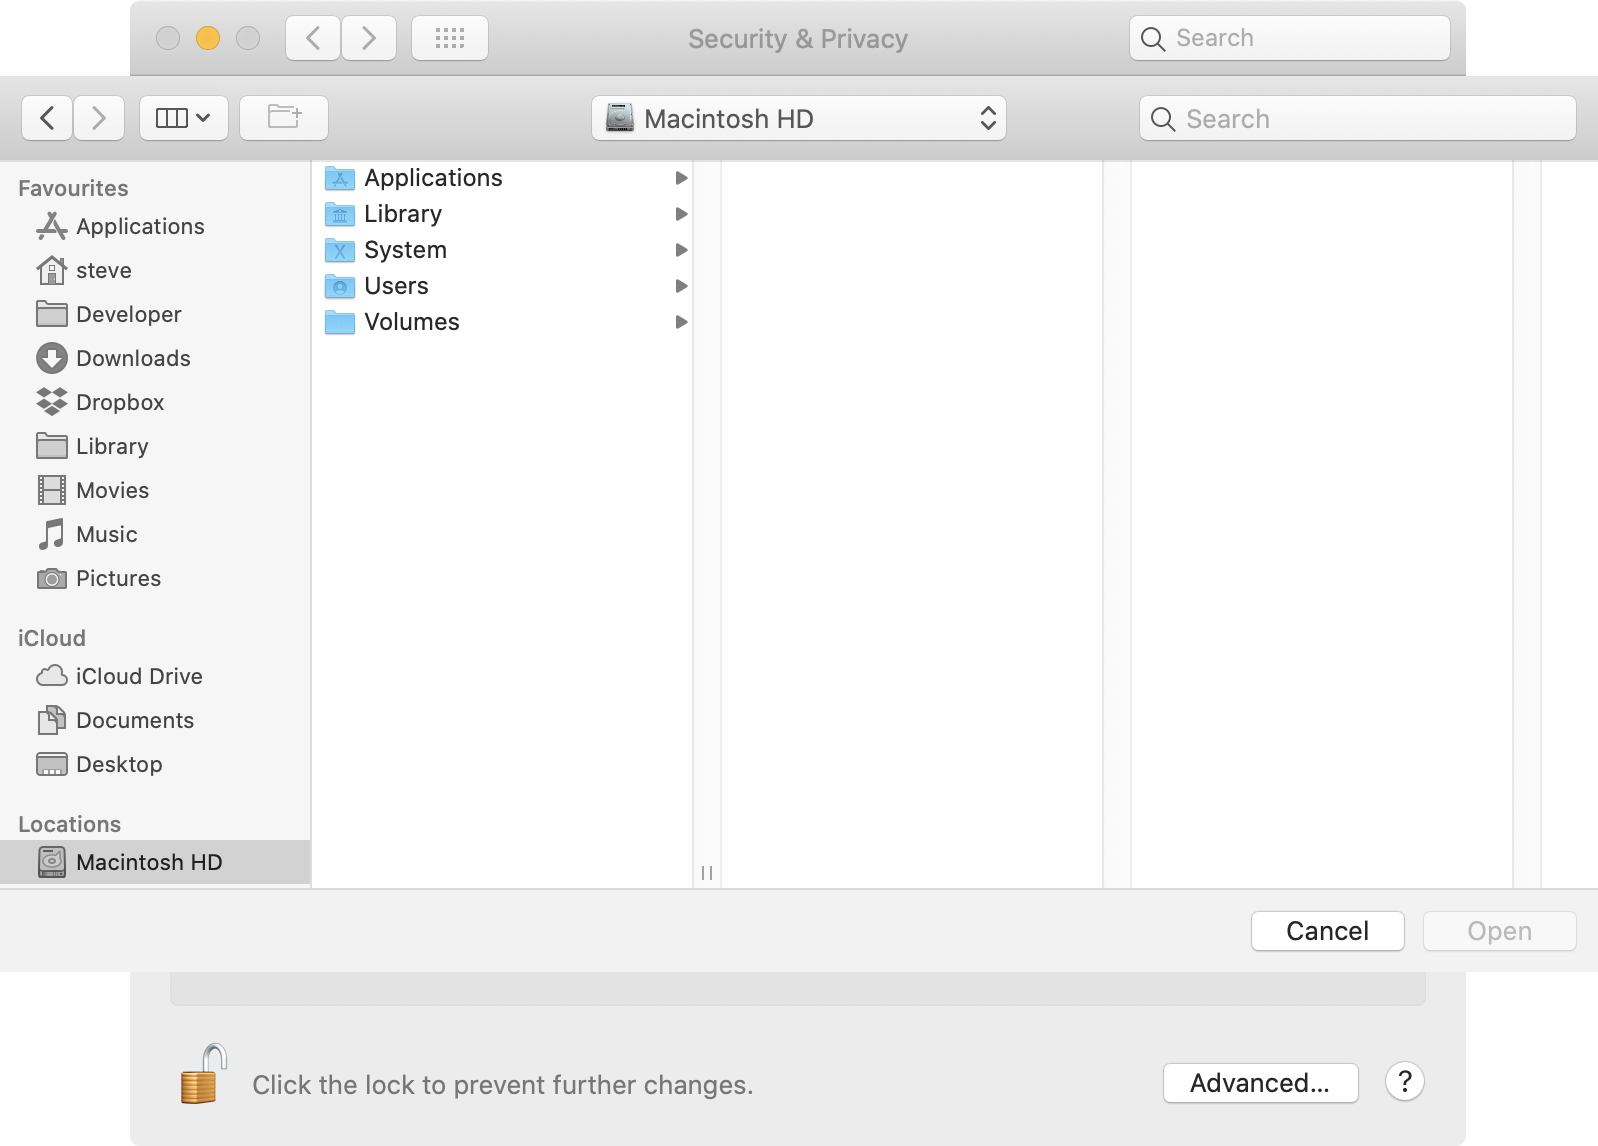
The /bin directory – amongst others – isn’t shown until the ⇧+⌘+. keys are pressed simultaneously:
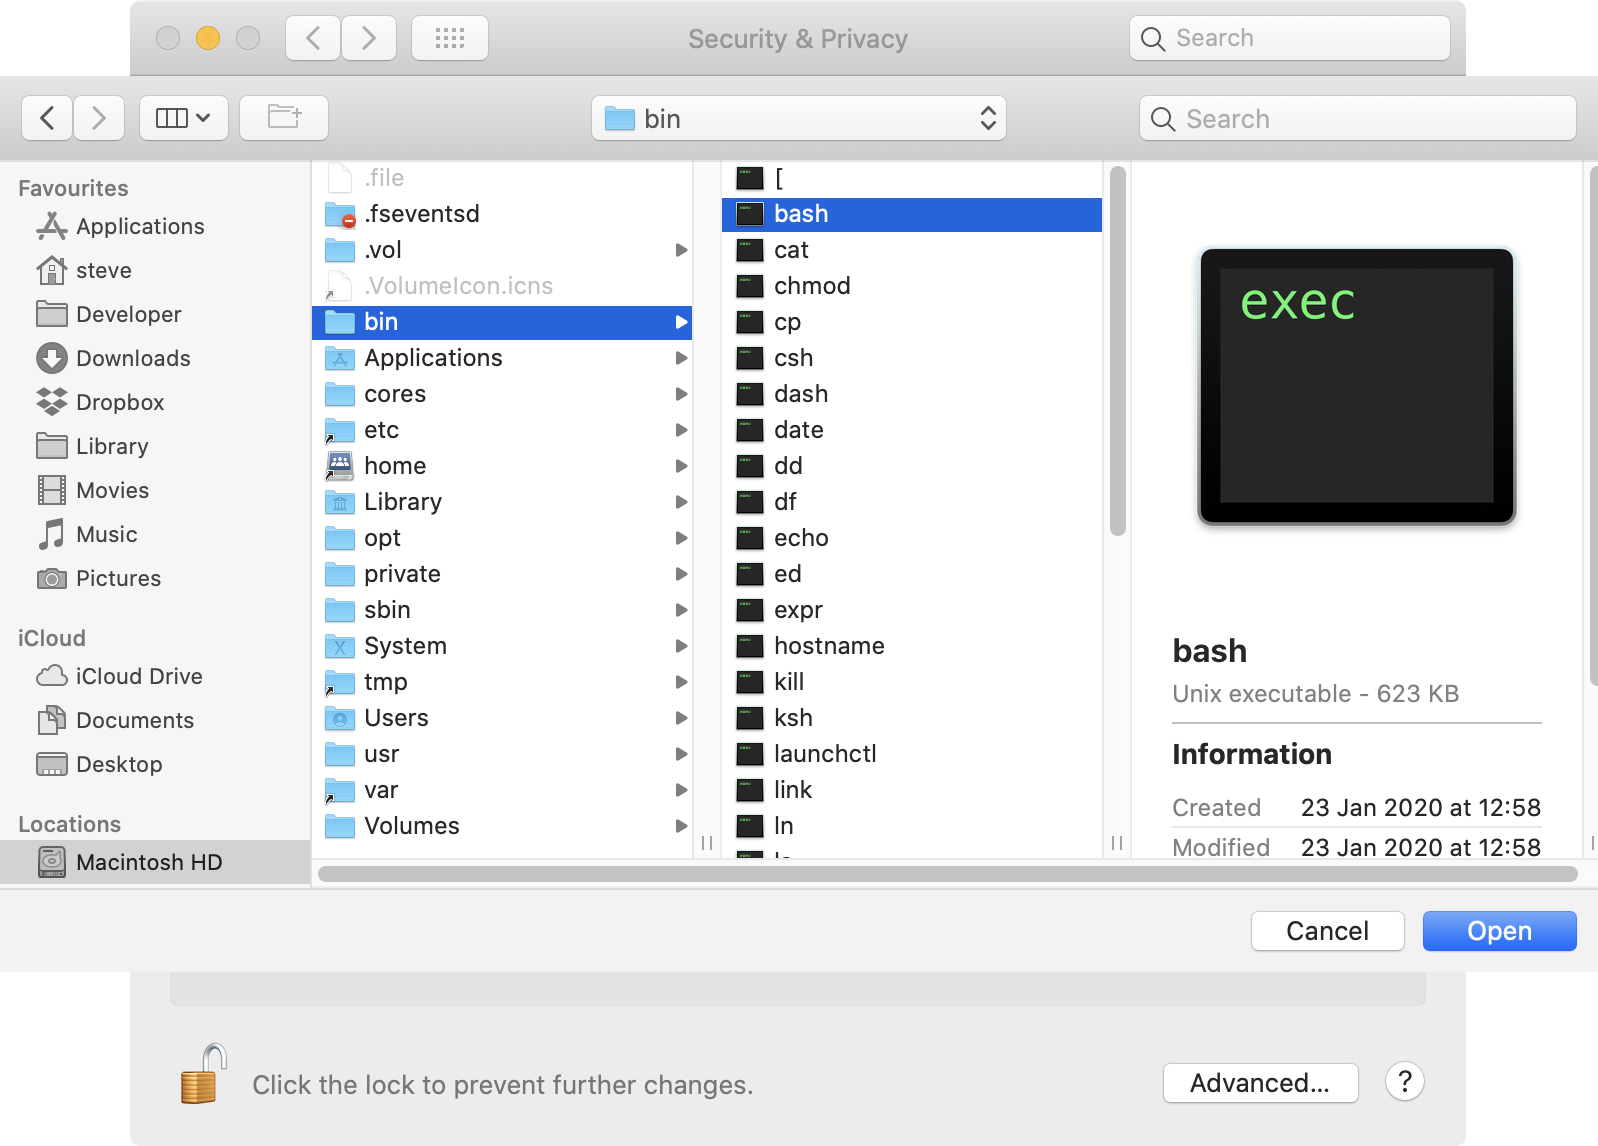
Navigate to the /bin directory, select bash then click Open to grant the bash binary full disk access:
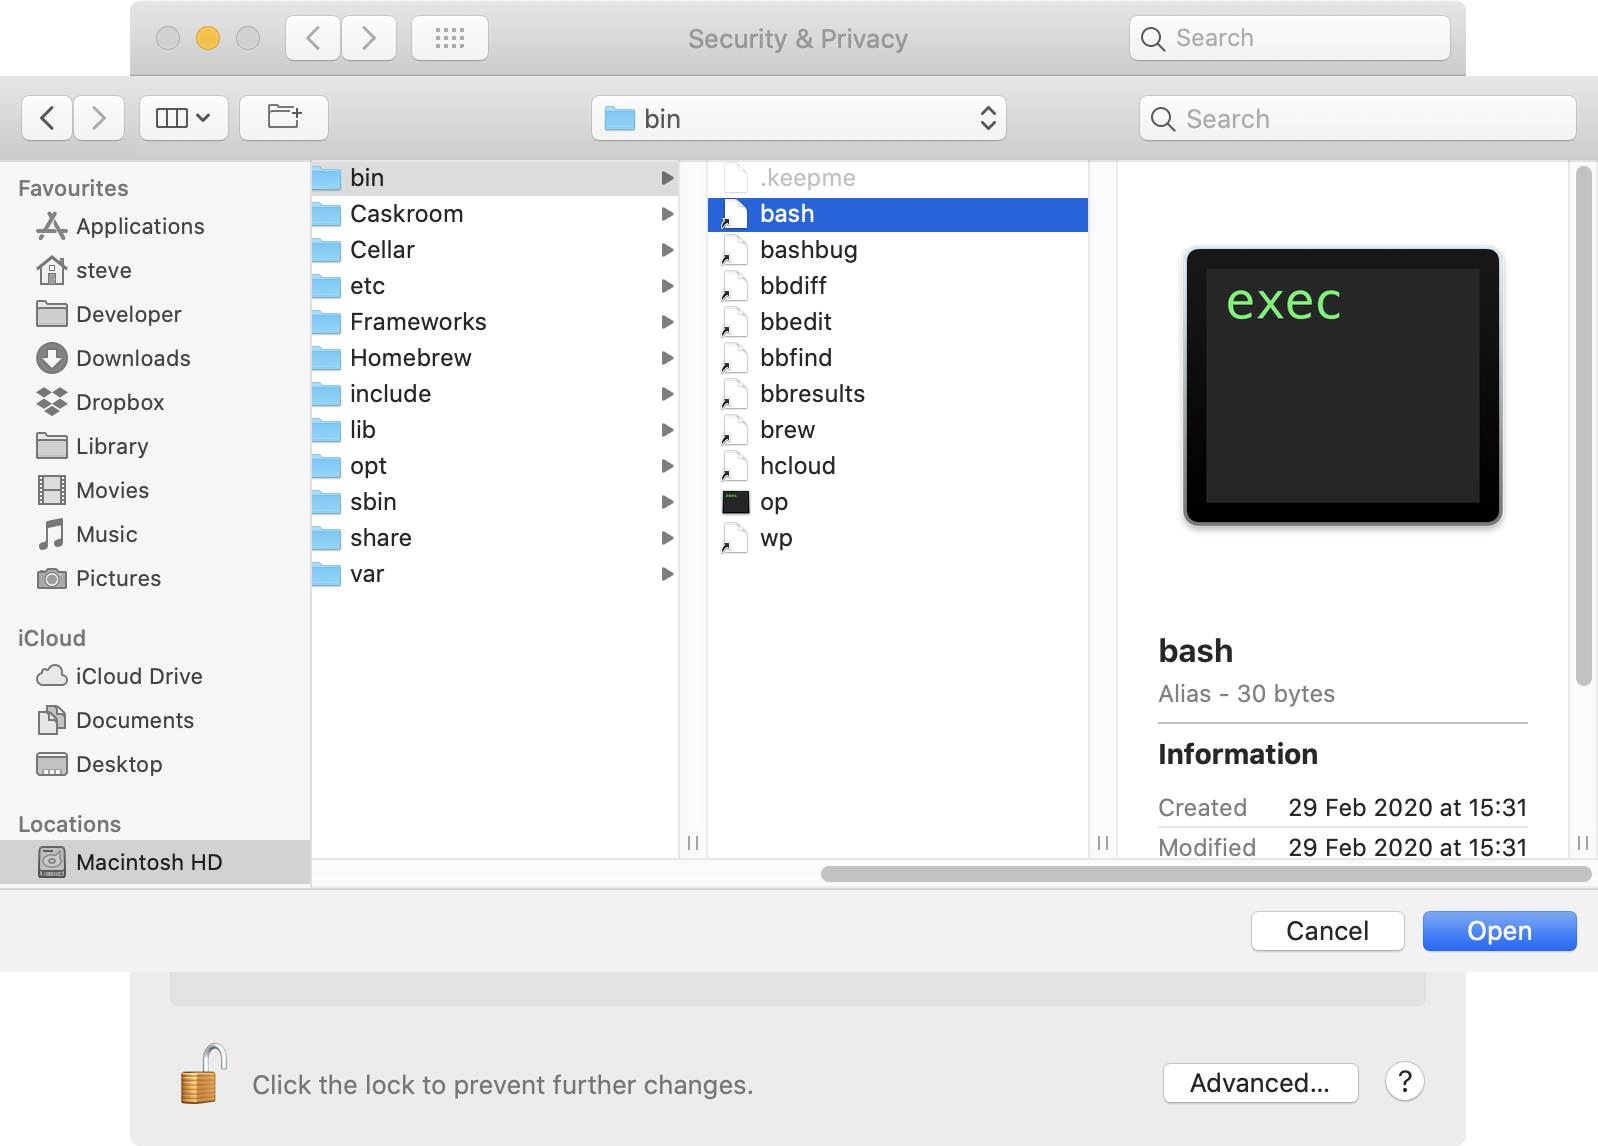
This Open dialog method can also be used to grant full disk access to an application by selecting a symbolic link that points to that application. An example is /usr/local/bin/bash which is a symbolic link to the bash binary /usr/local/Cellar/bash/5.0.16/bin/bash installed through Homebrew:
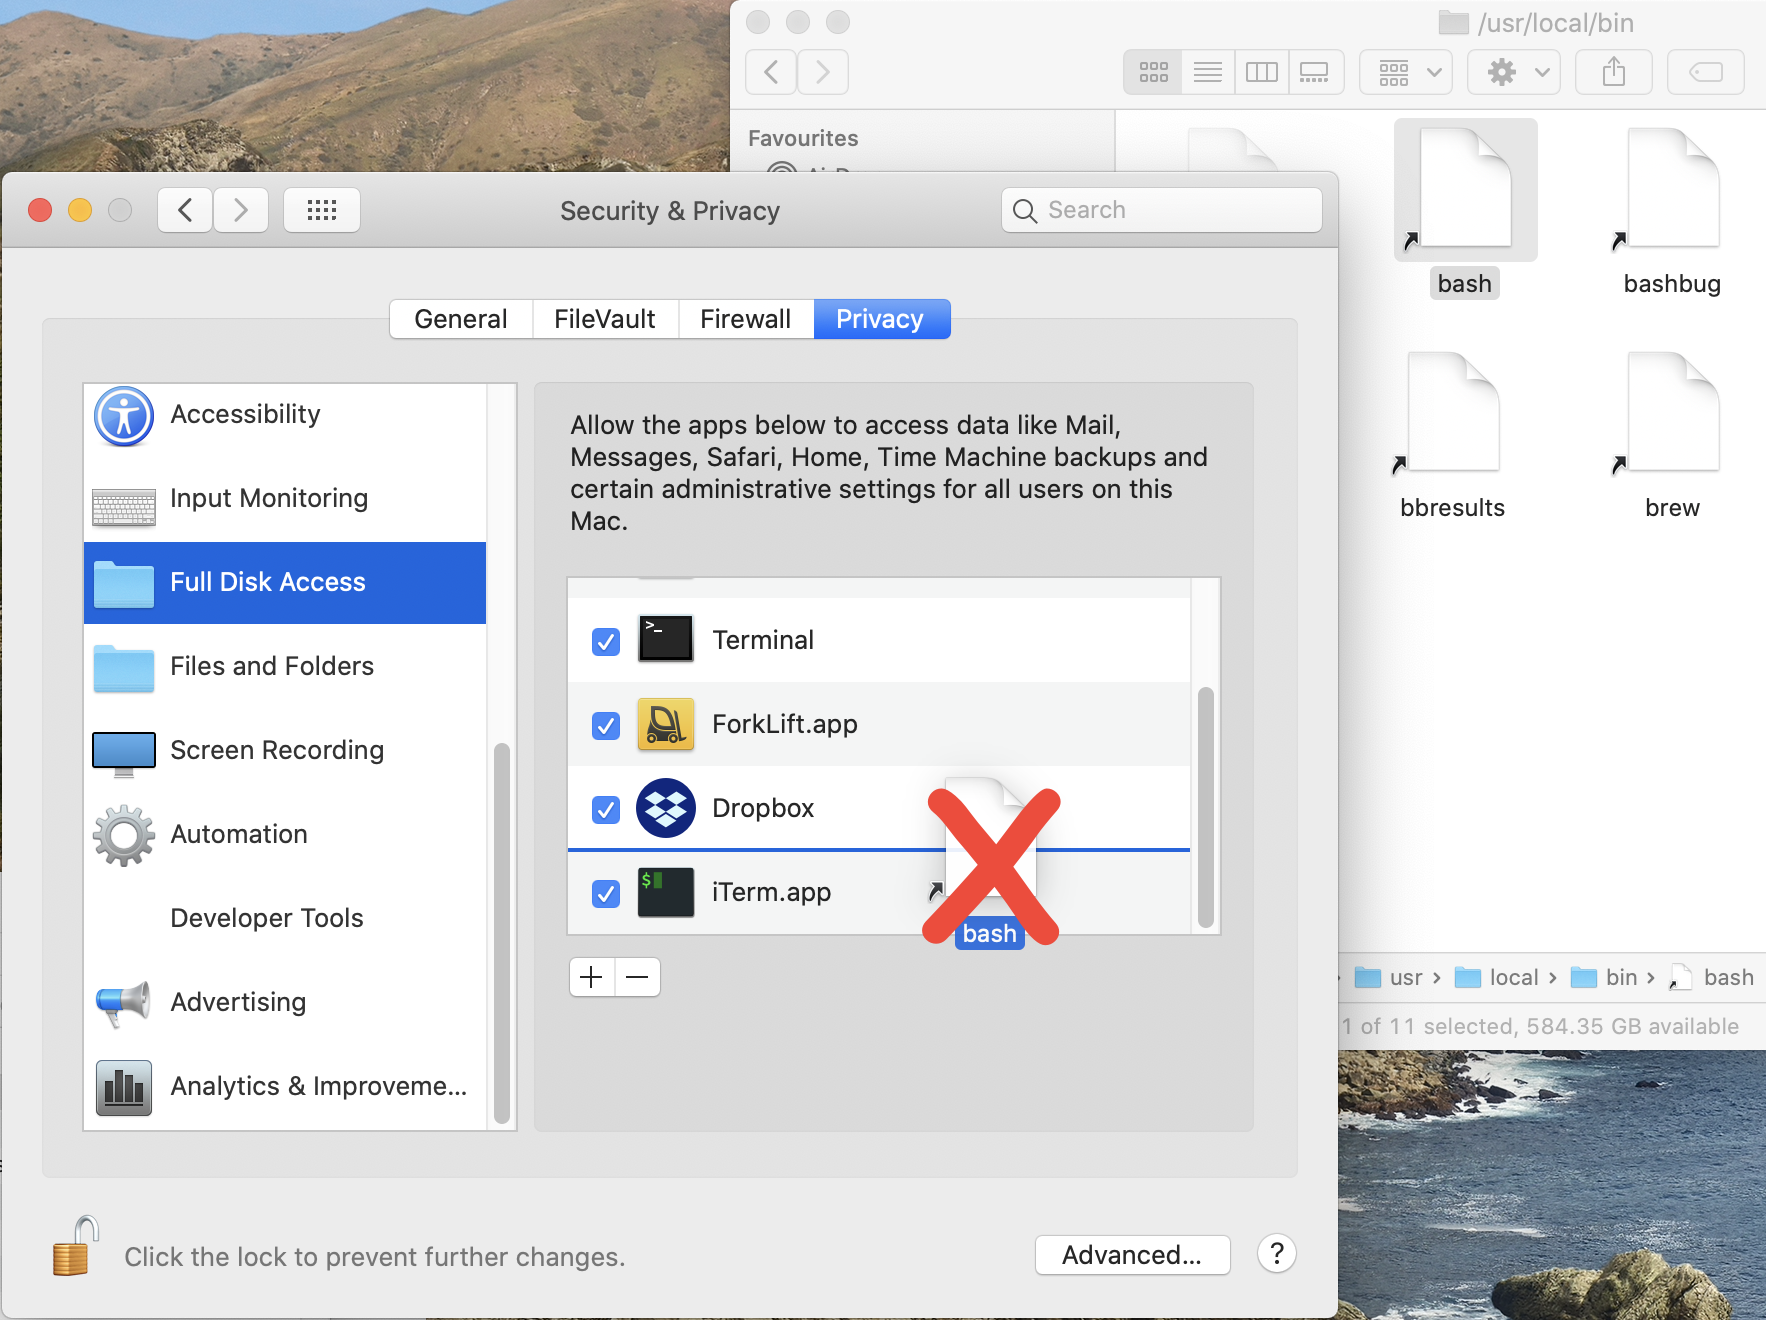
An alternative to the Open dialog method is to first navigate to the application in the Finder, then drag and drop the application icon onto the Full Disk Access pane of System Preferences:
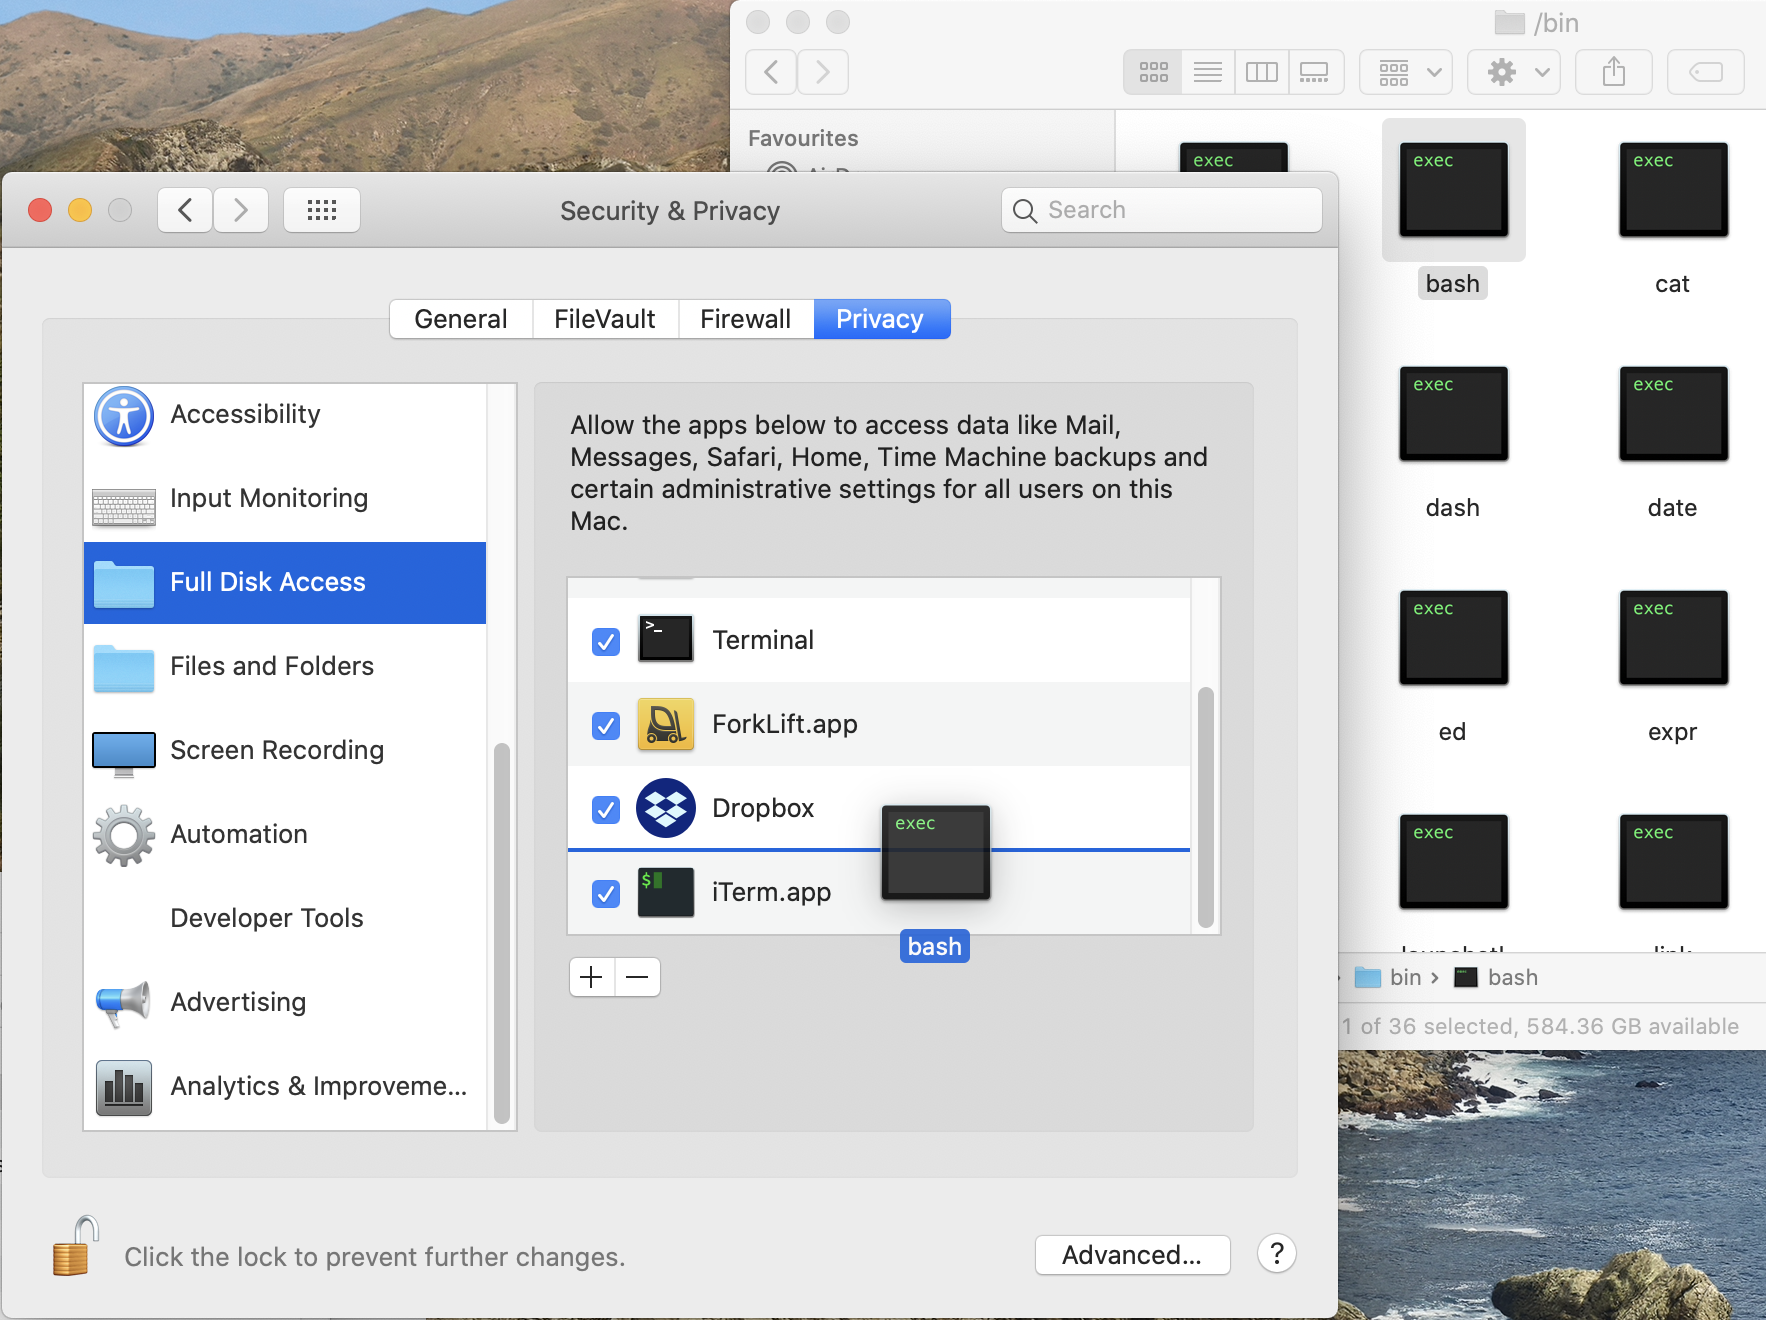
This drag and drop method doesn’t work with symbolic links in macOS Catalina. While it is possible to drag and drop the symbolic link icon onto the Full Disk Access pane of System Preferences, the application the symbolic link points to doesn’t appear to be granted full disk access. Consequently, only the Open dialog method described above should be used with symbolic links.
The /bin directory – amongst others – isn’t shown until the ⇧+⌘+. That was very good advice, thanks!